TL;DR: How Water Heater Maintenance Service Protects Your Home
A water heater maintenance service keeps your system running efficiently, extends its lifespan, and helps prevent sudden breakdowns. In this guide, you’ll learn how maintenance works, what parts are checked, and why regular service saves money over time.
Understand how routine water heater maintenance improves heating efficiency and reliability.
Discover the key components technicians inspect during professional service visits.
Learn the warning signs that signal your system needs attention.
See why annual maintenance helps avoid cold water surprises and costly repairs.
Find out how proper care protects your hot water supply and energy budget.
Consistent maintenance keeps hot water flowing, improves performance, and gives you peace of mind year-round.
Hot water is easy to take for granted until it disappears. A cold shower or rattling tank often points to an issue that built up quietly over time. A professional water heater maintenance service helps stop those problems before they disrupt your day.
Routine care keeps the system balanced, efficient, and dependable. Let’s take a closer look at how maintenance works and why it matters.
Why Water Heater Maintenance Service Matters
Your water heater works every day, heating and storing water under pressure. Over time, minerals settle at the bottom of the tank, parts wear down, and efficiency drops. Without maintenance, small issues slowly turn into major failures.
A scheduled water heater maintenance service removes sediment, checks safety components, and restores proper operation. This protects the tank, improves heat transfer, and reduces stress on internal parts.
Maintenance also helps catch problems early. A worn anode rod or faulty pressure valve can be replaced before it leads to leaks, corrosion, or total system failure.
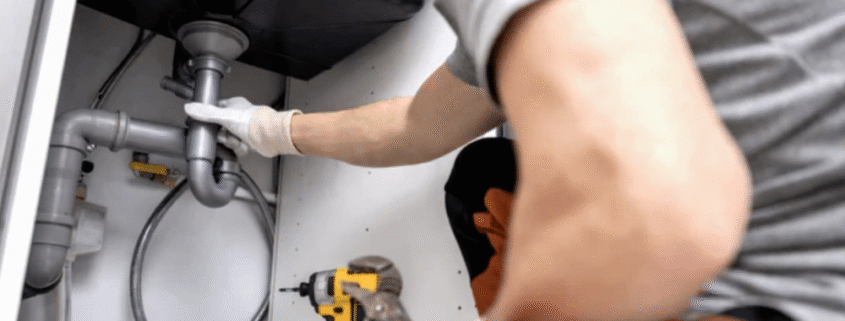
How Professional Water Heater Maintenance Works
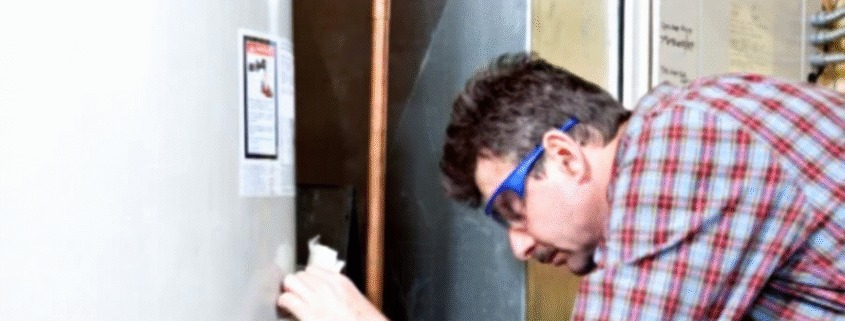
During a maintenance visit, a technician inspects the full water heater system. The tank or heat exchanger is flushed to remove sediment that blocks heat and raises energy costs.
Key components are tested to ensure safe operation. Temperature settings are verified, connections are tightened, and the unit is checked for leaks or corrosion.
For tankless systems, scale buildup is removed from internal lines to maintain consistent heating. Once service is complete, the system runs more efficiently and delivers steady hot water.
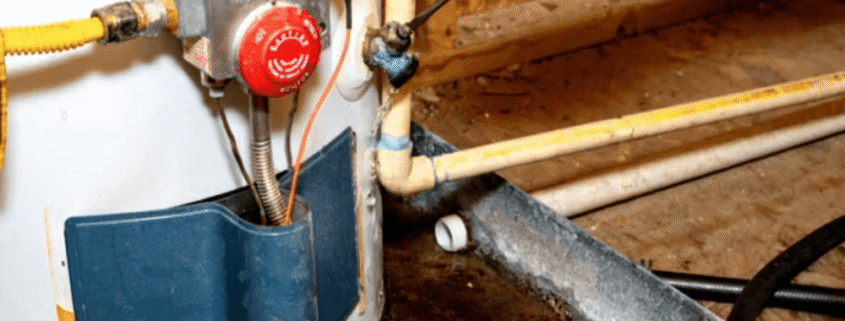
Inside the System: What Gets Checked During Maintenance
Several components play a role in keeping your water heater safe and efficient.
The anode rod protects the tank from rust by attracting corrosion. Pressure relief valves release excess pressure to prevent damage. Heating elements or burners provide the energy needed to warm water evenly.
Sediment buildup at the bottom of the tank reduces efficiency and strains the system. Routine flushing clears this debris and restores proper heat transfer.
Types of Water Heaters and Maintenance Needs
Different systems require different care.
Tank water heaters store heated water and need regular flushing to remove sediment. Anode rods and pressure valves must be checked to prevent corrosion and leaks.
Tankless water heaters heat water on demand and require descaling to remove mineral buildup. Without maintenance, flow restrictions and overheating can occur.
Choosing the right maintenance plan depends on your system type, usage level, and water quality.
Signs You Need a Water Heater Maintenance Service
Water heaters often show warning signs before failure.
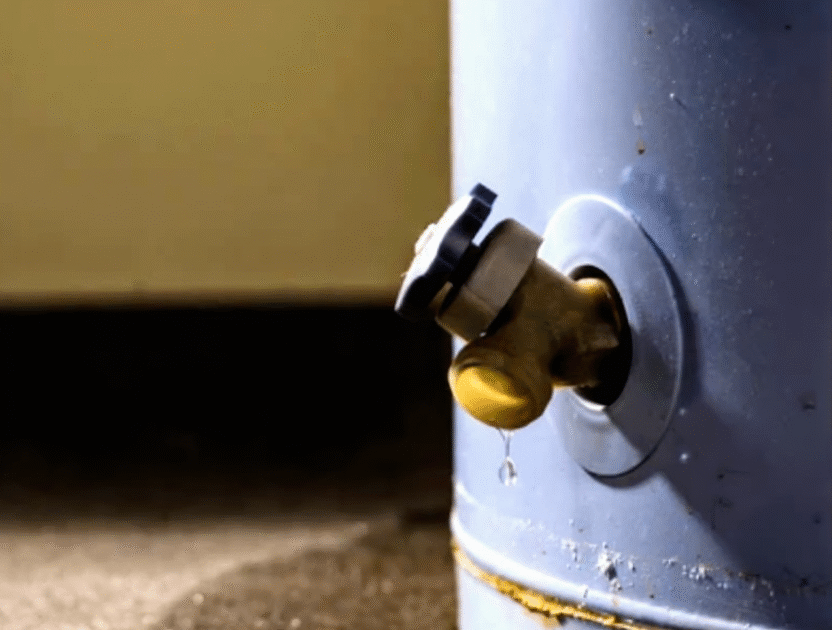
Watch for inconsistent water temperature, unusual noises, rusty water, reduced hot water supply, or rising energy bills. Moisture around the base of the tank can also indicate internal problems.
If these issues appear, scheduling a water heater maintenance service can prevent more serious damage.
Maintenance and Inspection Schedule
Most manufacturers recommend annual water heater maintenance. This keeps warranties valid and ensures safety components function correctly.
A professional service documents system condition and helps homeowners plan for future repairs or replacement. Routine inspections reduce emergency calls and extend system lifespan.
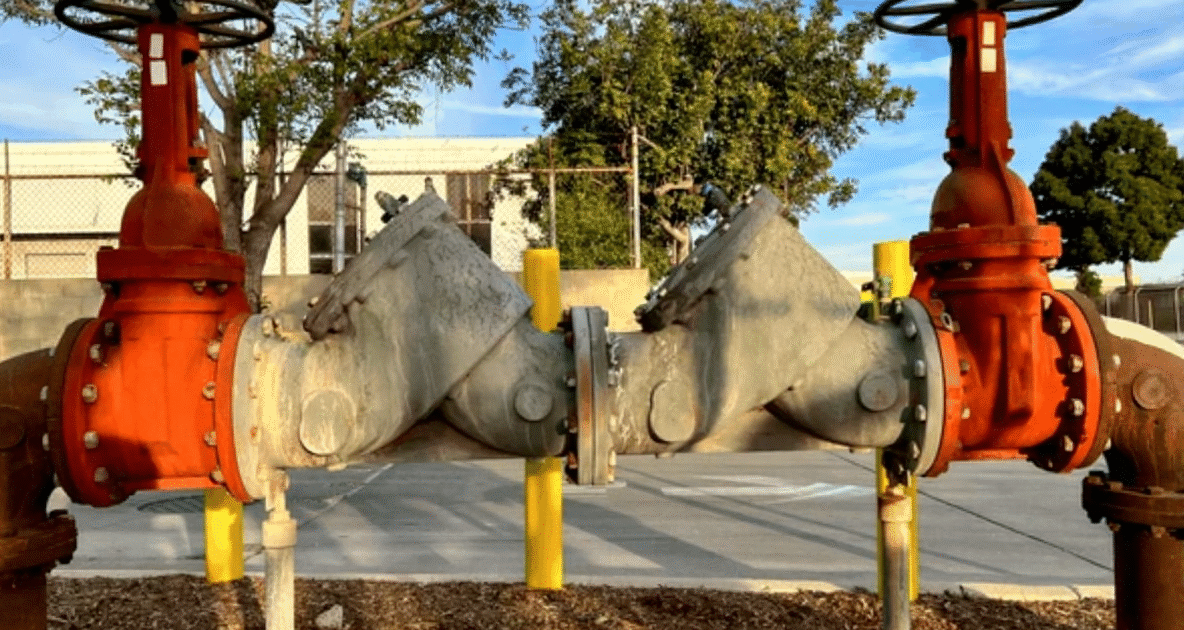
Testing, Local Guidelines, and Professional Service
Local plumbing codes often require water heaters to meet safety standards related to pressure and temperature control. Professional maintenance ensures compliance and reduces risk.
Certified plumbers understand system requirements and follow manufacturer guidelines. Proper service protects your home, your warranty, and your hot water supply.
Keep Hot Water Reliable Year Round
A water heater maintenance service protects comfort, efficiency, and safety. Regular care keeps your system running smoothly and extends its lifespan.
Treat your water heater like any major appliance. A little attention now prevents cold water surprises later.
Find out more about our plumbing, heating, and water heater services here.